


how do i install canon pixma ts9520 printer
Step 1
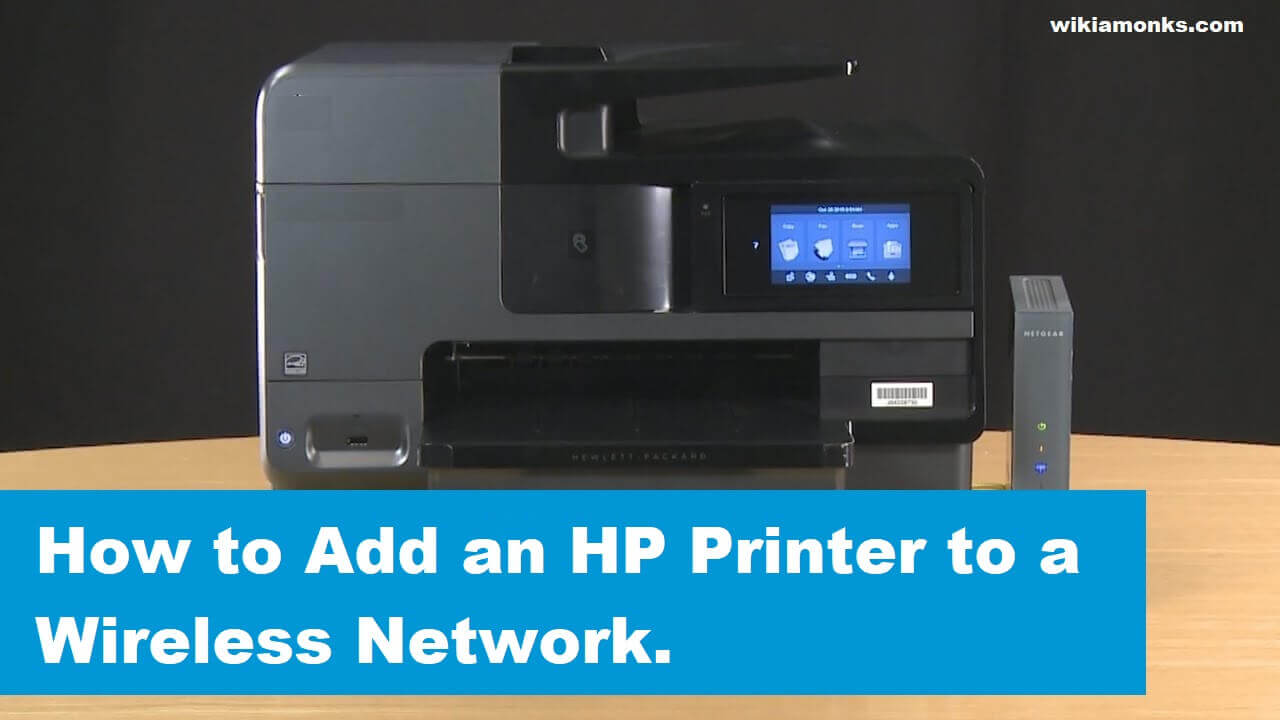
- Make sure that the printer is turned on.
- Press & hold the [Wi-Fi] button on the top of the printer until the alarm lamp flashes once.
- Make sure that the lamp next to this button starts to flash blue and then go to your access point and press the [WPS] button within 2 minutes.
Begin the Installation Process
Windows – Open 'Control Panel' and click 'Devices and Printers'. Click 'Add a Printer' and the system will begin seeking the printer. When the printer you are looking to install is displayed, select it from the list and follow the on-screen instructions.
Windows – Open 'Control Panel' and click 'Devices and Printers'. Click 'Add a Printer' and the system will begin seeking the printer. When the printer you are looking to install is displayed, select it from the list and follow the on-screen instructions.
Solution
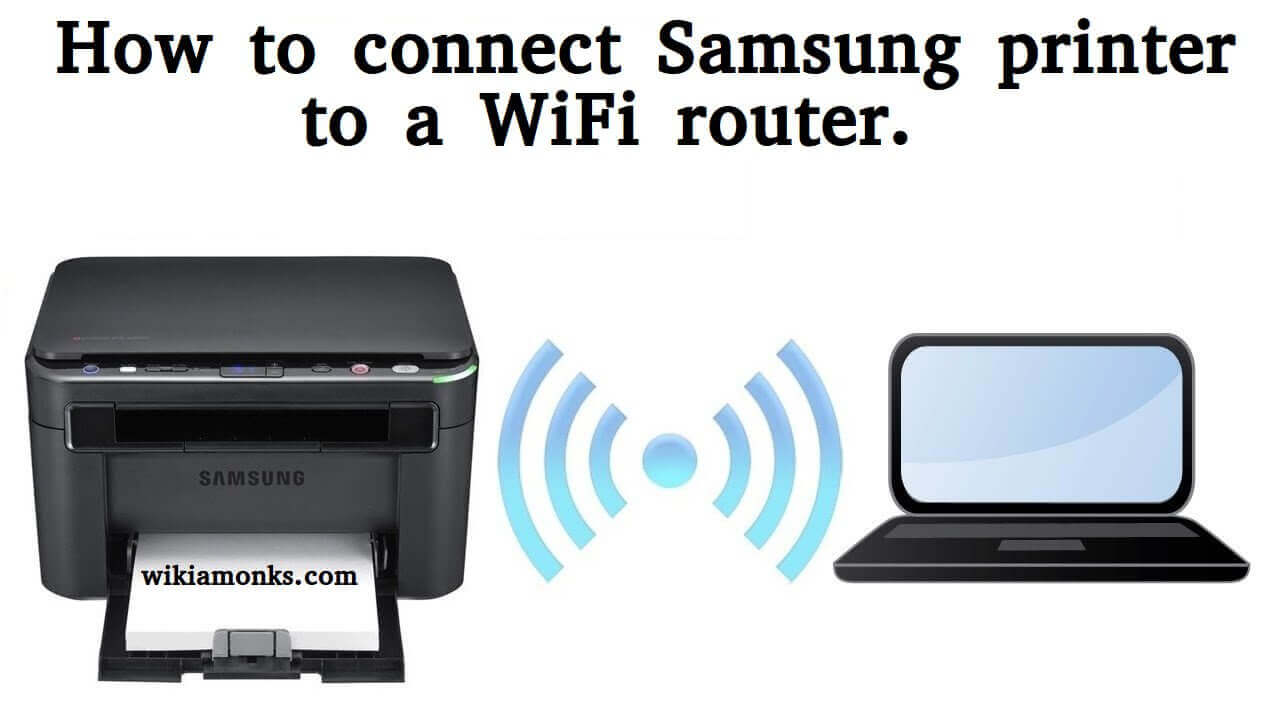
- With the printer turned on, press the Setup button.
- In the Setup menu, Wi-Fi setup is the first option.
- In the Wi-Fi setup menu, press the right arrow until Manual connect appears.
- The printer will search for nearby wireless networks.
- You will be prompted to enter your network password.
Start wireless setup
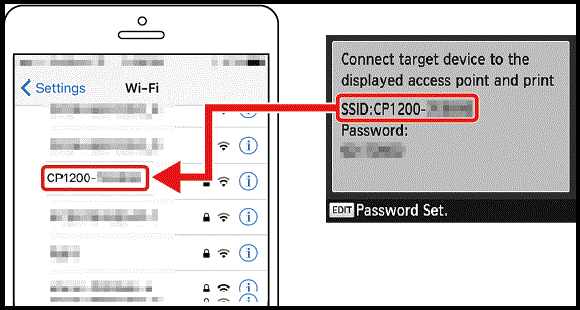
- Option 1: Send the router information directly to the printer from a mobile device.
- Option 2: Use the Canon PRINT Inkjet / SELPHY app for Android and iOS® devices.
- Option 3: Use the WPS Push Button method.
- Option 4: Enter a WPS PIN code to connect a device.
Steps To Connect A Canon Printer To Laptop:
- First of all, turn off your Canon printer and then insert the one end of the USB cable to your printer's connection panel.
- Now insert the other end of the USB cable to your laptop's USB port as per the place where the USB ports are located.
Printing with AirPrint
- Check that your is printer turned on and connected to the local network (LAN).
- From the application software of your Apple device, tap the operation icon to display the menu options.
- From the menu options, tap Print.
- From Printer Options, select your printer.